Sunday, 15 December 2019

Stone Setting 101

I've worked with copper and silver for many years,  but in all that time I have only very rarely worked with stone setting. Mainly I've limited my work to using amber or turquise. Although I did make a bracelet last year using a large 'slab' of Malechite.

Anyway...I was recently handed a couple of stones and asked if I could 'do something with them'.

The following pictures show the results. As always with me, a little 'clunky' and really a prototype for the fulle version to be made...'sometime in the future'.


These views show the mounts I made from silver to hold them both in a neclace which I will be finishing in the next couple of days.
For the moonstone on the left, I cut an abstract patten of holes into the mounting plate on the back of the stone. This is to allow light to pass through illuminating the core of the stone as shown in the next couple of pictures.


Friday, 16 August 2019

Sundial

Hello...remember me. Yes, I know, the reports of my return a couple of years back were rather exaggerated... I'm hoping however that I've got thin gs back on the rails again and have returned to making.
So...as a astarter, I'm postibng some pictures of my current project. It's a commission for a Sundial.

Here are a couple of pictures of work in progress.


This is the central part of the sundial. Some may recognise this as a Liverbird. The comission has come from a lifelong suporter of Liverpool Football Club and this is a 3d representation of the Liverbird which appears on the players shirts.

The central part of the bird will cast the shadow which will be used to tewll the time on the dial face which the bird will stand on. I spent an interesting afternoon calculating the clock markings which will go on the dial face.
The bird is made from copper and has been assembled from a number of individial parts both soldered and riveted to try and keep the low profile necessary for the shadow along with the strength to survive high winds.

More to come as I work on the dial and assemble the whole sundial together.


Saturday, 11 November 2017

Not Quite Metal

I've been away, for quite a while, but I'm back and I've been looking into some other making techniques.

This is me, working some clay;


and here are some of the bowls that I actually managed to throw...


Saturday, 20 August 2016

Copper Box

Hello, I'm back, after a bit of a break. I've been working on a new piece in rather an ad hoc fashion doing bits here and there when I can get access to a workbench...

This new project is a copper box with a split lid.


The left hand side of the lid slides open, with the righthand side hinged.

Saturday, 27 February 2016

Finished Kilt Pins

Here are the kiltpins, finished off and ready for delivery. I hope they meet the expectations of their recipients and contribute, in a small way, to the success of the day...


Sunday, 8 November 2015

Kilt Pin

I was recently asked by a good friend if I could come up with something a bit more contemporary in the way of a kilt pin ahead of his impending nuptuals...something that better reflected his interests...

Something like this...


It is, of course, still a work in progress and will require a lot of cleaning and polishing and the 'blade' will be enameled with a personalised colour.

Sunday, 1 November 2015

Variation on a Theme

I've had a lot of positive feedback about the last piece, a lot of connected to a festive event towards the end of the year. I therefore tired another version of the pendant.

I'm not sure if it is quite as successful and I think it might need turquoise rather than amber, but I'm quite pleased about how it turned out. It needs a bit of polishing to finish it off, but that can wait 'til tomorrow...


Saturday, 24 October 2015

Sunday, 18 October 2015

Amber Pendant

Here's a quick project I set myself this afternoon...a silver pendant with piece of amber inset. I started with a few rings of silver.

Then soldered and polished to end up with this

Still work to be done obviously... :)

Sunday, 27 September 2015

...and finally.... The Locket Box

After some time, I think I've finally completed the Locket Box.

There's been some speculation about what this is, so I hope these pictures will clear up any questions...

Here's he finished box...or locket. There's a chain which can be fitted to allow it to be worn around the neck.


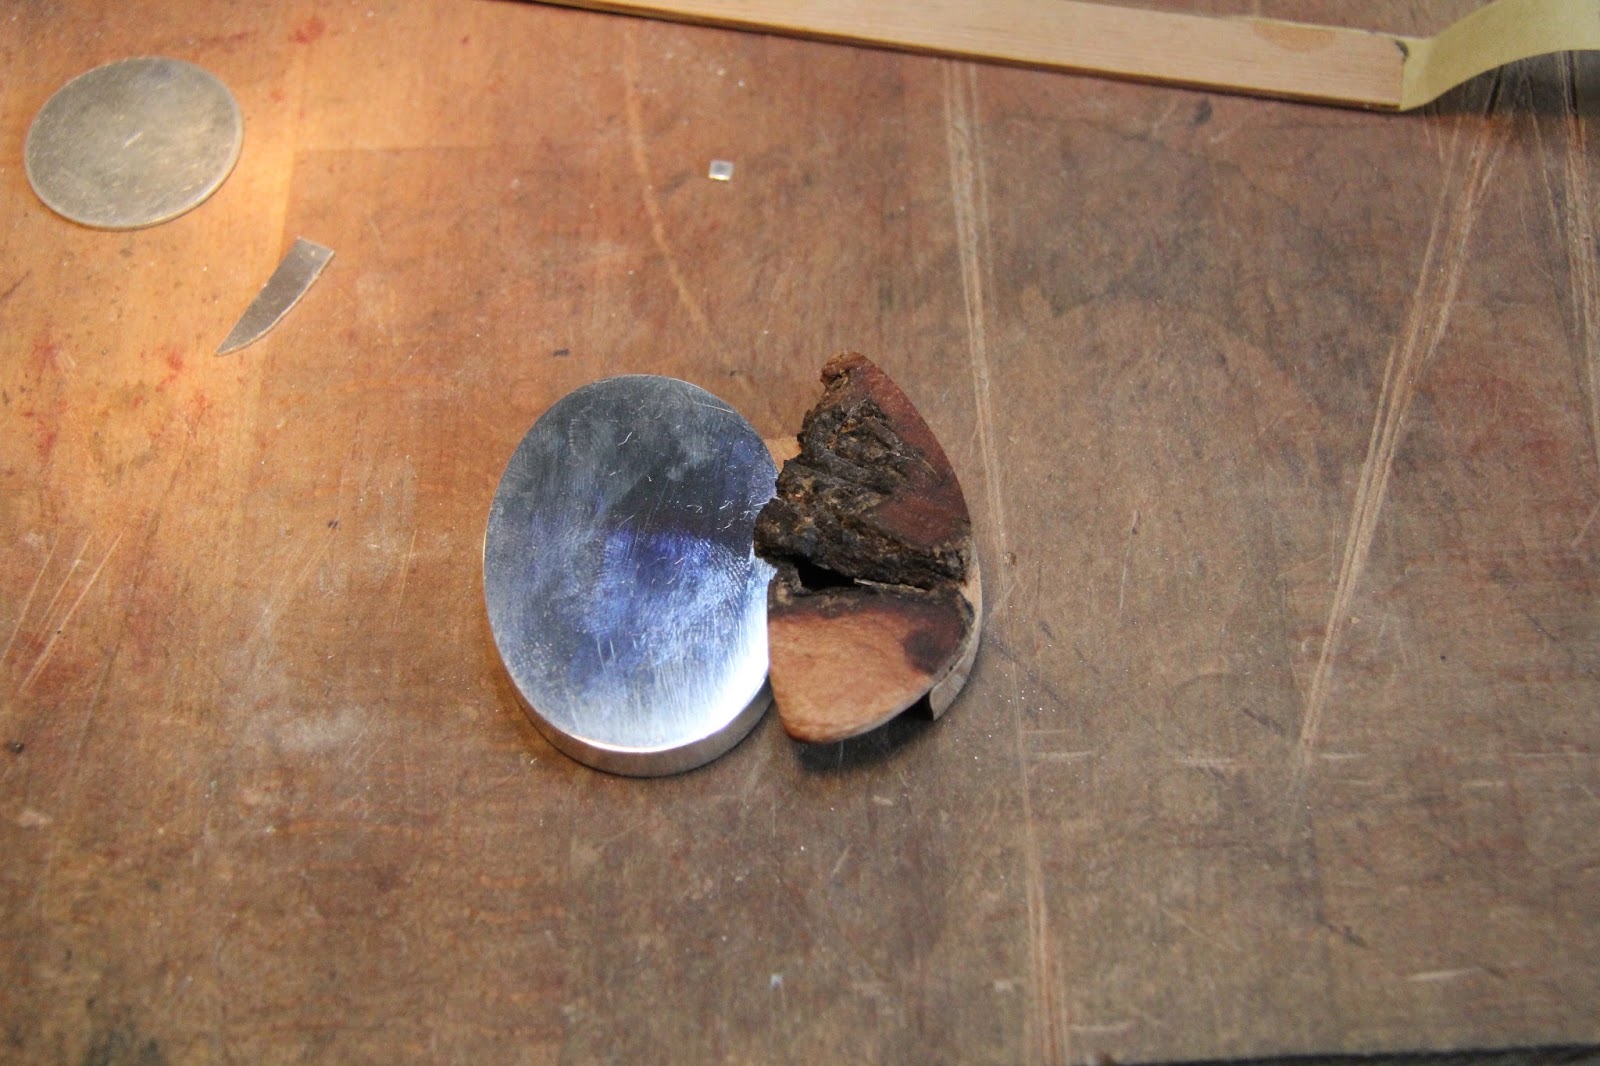
The wooden piece is the outer part of a small 'drawer' which fits inside the metal locket box;


Inside the drawer is a small silver box into which could be put a picture or keepsake...which slides...

Into the locket box.....

Until the whole drawer is hidden from view...


oh.....and by the way, the silver disc in the last update....has nothing to do with this...sorry :)

Getting There

Another 'Under Construction" sneak peak...


Sunday, 20 September 2015

Still Under Construction

Here's another mini-post just to show you where I'm going with the wooden elements of this new piece. Afer a lot of work messing around with slivers of wood, I've arrived at this...


Still a bit to go, but I think you can see the general idea...

Saturday, 19 September 2015

Wood

I'm thinking of adding in some wood to the locket box...


I've got some interesting pieces to play with. Comments greatfully received... 

Sunday, 13 September 2015

Silver Locket/Box

Hello...it's been a bit of time since I last posted. To be honest, the teapot (see previous posts) has been taking up a lot of my time as it requires significant sanding and filing as part of the very long process of finishing it off - the construction, the bit I like the bet is over, so it's taking me a long time to finish...

so

I decided I needed a break, so, since I had to be around the house a lot this weekend, I decided to get going on something new.

I decided it was going to be silver, did a bit of design brainstrorming and then began work on my new silver...box...locket....thingy....

Here's progress so far;

Starting with a flat sheet of silver, I cut a strip to form the side of the box...locket...thingy.
I formed the roughly elliptical shape through a combination of formers and digital manipulation...i.e. I bent it...
I didn't want a true ellipse so it's slightly 'flattened'

Soldering the side wall to the silver plate forms one side of the box as shown below. I cut away part of the side wall to leave a slot opening in the side.


 For a while, I toyed with putting a double hinged lid.....


......but had a couple of soldering disasters, which left me with the lid pieces, but almost melted the box itself....so I changed my design idea...

Inverting the box and placing it on another flat sheet allowed me to form the complete box;


 Then, the long process of sanding and filing to trim off the excess and start to smooth out all of the scratches my clumsiness has added during the past couple of days;


Now.....for phase 2.......which I'll start tomorrow :)


Monday, 13 July 2015

Fold Forming pt2

I've tried a few more experiments with the Fold forming technique. Here are a few photos of an abstract shape I made using a forging hammer.


Sunday, 12 July 2015

Fold Forming

I was planning to make a second handle for the tea pot this morning, but got sidetracked by something else. I've been having a go at Fold forming and here is my first attempt. More to follow I think :)


Saturday, 11 July 2015

Tea Pot Update

Here are a few photos to show progress on the Tea Pot....still a long way to go. I think the pot handle may be too big for the pot...comments welcome.


Tuesday, 30 June 2015

Show-Off and Tell

This week I am going to a semi regular event that my Smithing Tutor holds in the local pub near the studio. It's a chance for her pupils to display their work to the other pupils...we now call it 'Show-Off & Tell'.

I've had trouble selecting some pieces to take along, espcially as the teapot is so far away from completion.
Here is what I'm thinking of taking...I'd appreciate any comments... :)


Sunday, 21 June 2015

A Lid.....Finally

Today, I finally embarked on the tricky job of cutting to form the lid of the tea pot. You may notice the addition of the mounting tubes for the handle which I did during the week.

The first part of the process is to mark out the lid using a combination of a scribe and saw.
and from head on;


With the shape scored out, the process becomes a long laborious process of going round and round the outline of the lid to gradually cut through.... This takes a long, long time....but here is the result;


Time to tidy up the ragged edges and work on the internal besel.