Saturday, 17 January 2015

Kiln

One of the perils of the internet is that it allows you to make impulse purchases at the press of a mouse key...
...so that's how I ended up with this...my new kiln which arrived this week.


Today, I tried it out for the first time;

As it gets rather warm, I've set it up on firebricks both as protection and to stop it from moving around on the surface.


This shot shows it just after I took out my first experiment in enameling. Keeping it simple I put a thin layer of green enamel onto an offcut of silver. And here it is;

Not very impressive I suspect to you guys, but I'm rather pleased with it. Now the experiments in enameling can begin in earnest... :)

Thursday, 1 January 2015

Piece in a Day Pt 2

Coffee break over, the following photos are of the piece with a preliminary finish and polish.


I think this means that I've 'technically' finished the piece in a day. However, I'm sure I'll keep fiddling with the finish over the next couple of days.....

Piece in a Day pt 1

Happy 2015 everybody. Today, I though I'd try to make a piece in a day, just to usher in the New Year and to stop myself from slobbing on the sofa...

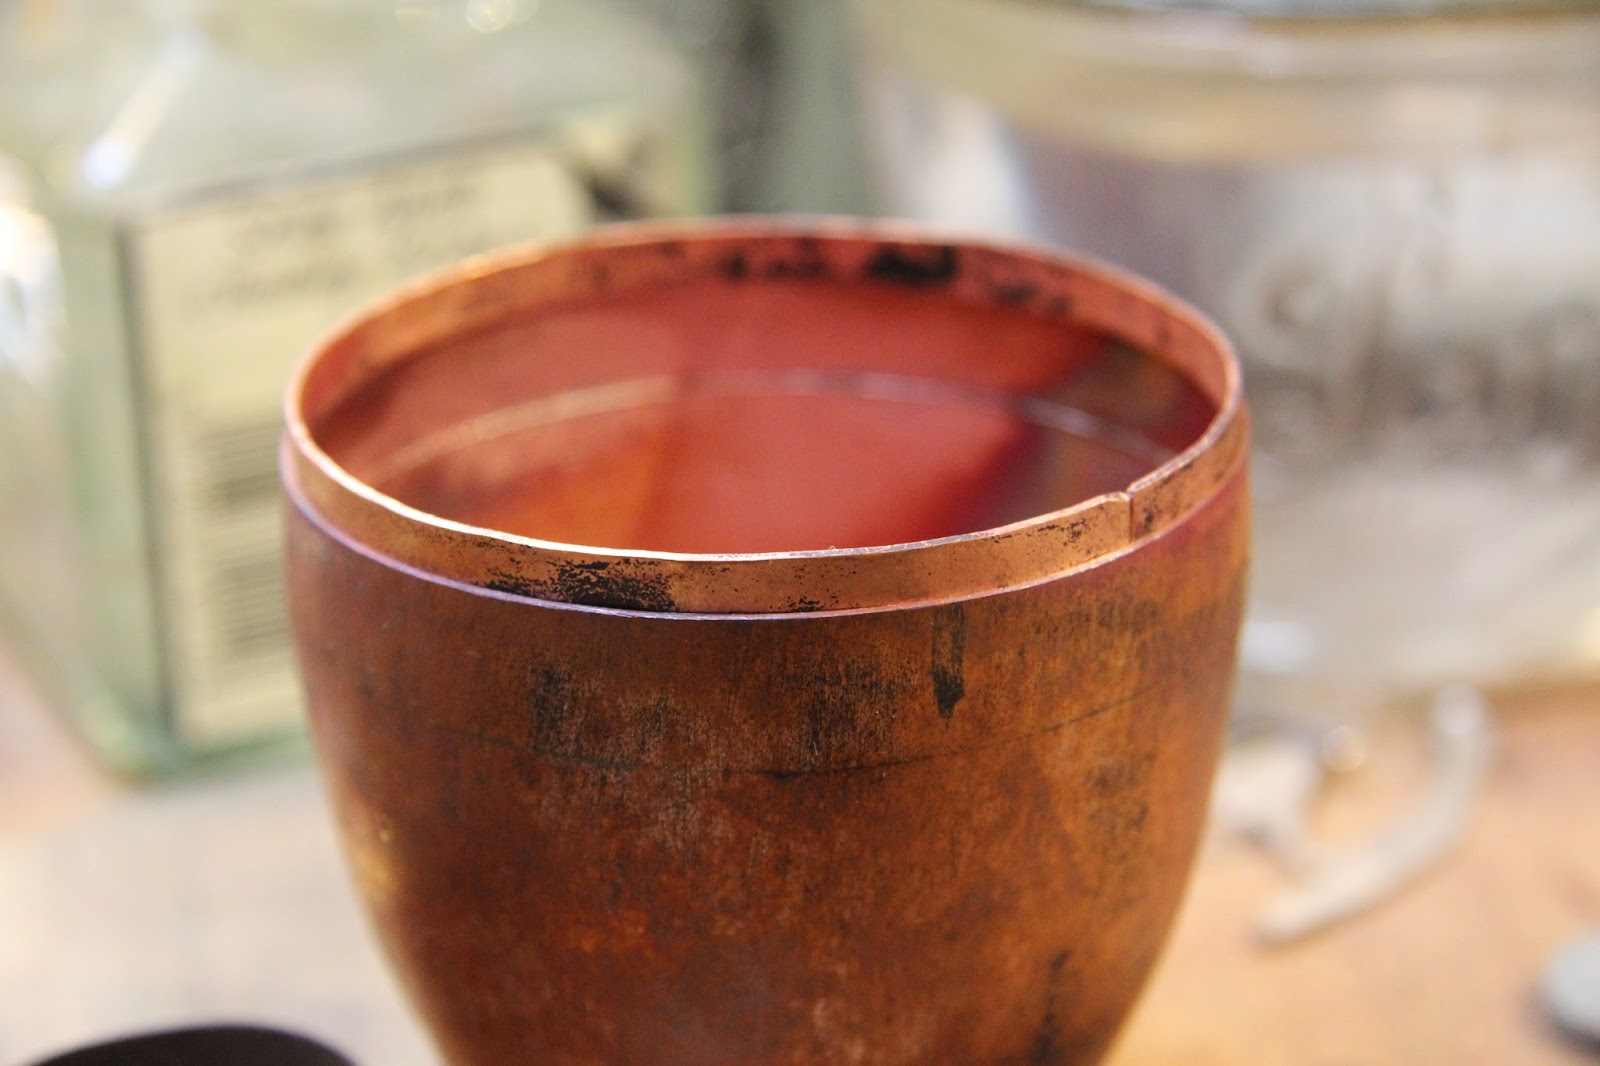
I decided to make another copper bowl using an inner and outer skin to give the illusion of a much more substantial structure... Here's where I've got to so far...


The inner skin is attached to the rim. As you can probably see, it took me a couple of tries to get a smooth solder around the full circumference.


This picture shows the outer skin placed on top of the inner, awaiting soldering. You can see the borax flux (the white stuff) which is used to ensure the solder flows in roughly the right direction.


Th preceding three pictures show  the piece after the outer skin had been soldered. The final one shows the piece with much of the excess copper trimmed away. This also helped in the soldering.


So...after a fair bit of grinding and filing, the piece now looks like this. 

Time for a coffee break I think - I know some of you prefer tea, but for me it's coffee...then on to part 2......finishing and polishing...


Monday, 29 December 2014

It's Hinge Time Again

I won't go into the intensely frustrating time I had in fabricating the hinge. All I'll say is that once again appealing to the 'God of Soldering' pays dividends...

Here's a montage of the steps in pulling the hinge together;

Initial alignment


Friday, 26 December 2014

Opening the Egg

I've finally got back around to working on the copper egg I made a couple of months back.

Today, I split the egg in two to form the lid and base of a box;

I marked out the split with a scribe then used a fine saw blade to progressively move around the circumference, cutting deeper on each orbit. Finally separating the two parts.


The next stage is to add the supports for the hinge. A piece of metal is needed to space the hinge away from the body of the box to allow it to open.
Here are pictures showing the fitting of these parts to the lid and base;


One side of the spacer is cut to fit the curve of the box, the other is flat to accommodate the hinge knuckles.

To ensure both parts of the box close firmly, a Besel Strip is added. This inner ring provides a tight mechanical fit to keep both halves together.


And now, both sides placed together. At this point the Besel Strip is too big, so will have to be filed down a little to allow the box to close properly.

Since the box is not 'closed' firmly, the spacers look wide apert, once properly in place, they will come together.

Next step......the hings knuckles.....!


Saturday, 6 December 2014

OrganoCup External Finish

I've spent quite a lot of time trying to apply a finish to the outside of the cup. I've been using Platinol to try to oxidize the surface to give it a grey metallic finish. Unfortunately, for some reason, despite a lot of cleaning and sanding of the outer surface, I've been unable to get full coverage of the cup. I got a lof of flaking and uneven coloring of the surface. I the end, I decided to make a virtue of the blotchiness of the surface and here are the results.


The inside of the Cup needs another sanding with Scotchbrite...however, this is what it looks like at the moment;


Sunday, 23 November 2014

OrganoCup

I've been playing with copper bowls and this is the result;