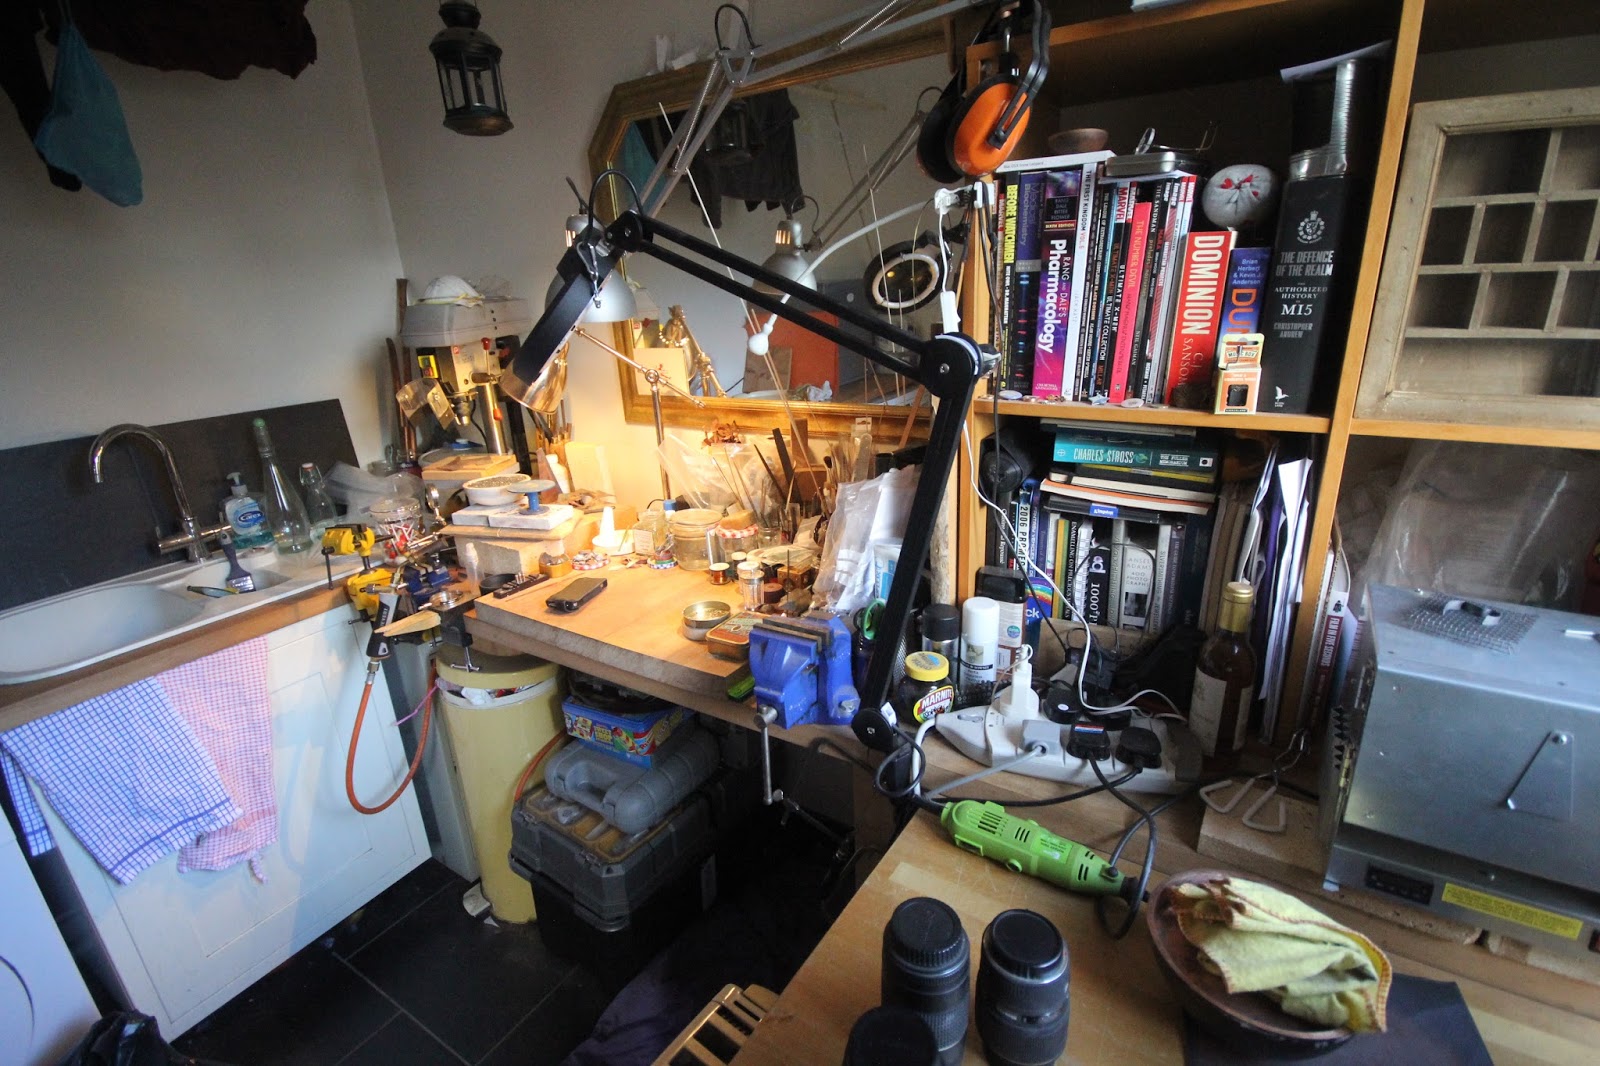
Sunday, 31 May 2015
Tidying Up
I started the day with the intention of doing some enameling work on the copper box I made a few weeks back and I did indeed do some tests with enamel flux and a couple of candidate colours, but I realised that the sheer messiness of the workshop was stopping me from getting on with things. So...I've spent quite a bit of today tidying. As a result, this is probably not the most interesting post I've ever put online, but you can now see what the workshop looks like and probably ponder just how messy it must have been if this is tidy... :)


Sunday, 10 May 2015
Sneak Preview
I've been asked to put more in this blog about the various stages of construction so here is the first in a series of 'Under Construction' posts....
This is the beginning of one side of a new piece. I started with a basic raised bowl, then took off the bottom third, inverted it and soldered it into place to give an indented look...


This is the beginning of one side of a new piece. I started with a basic raised bowl, then took off the bottom third, inverted it and soldered it into place to give an indented look...


Wednesday, 29 April 2015
Assembly
Here are the most recent pictures of the new box. I've now hinged the internal lid and these shots show the box assembled ready for he next steps in the build;


Sunday, 26 April 2015
Inside the Box
Here are a couple of shots of the inside of the box. I've switched to a domed interior to keep with the overall curved theme of the box.

...and to give an impression of what the finished internal structure might look like, I placed the internal lid on top. It will also need a hings, but that will come later.

...and to give an impression of what the finished internal structure might look like, I placed the internal lid on top. It will also need a hings, but that will come later.
Saturday, 25 April 2015
Hinging the Box
After a lot of psyching myself up, I took a deep breath, sent up a prayer to the god of soldering and started working on the hinge for the new copper box.....


This photograph shows one of the knuckles held in place with a small pallion of solder on top of it ready for soldering. The photo below shows this repeated along the length of one side of the hinge;
The following photo shows the other side of the hinge after soldering;
Now, with both sides soldered, the moment of truth...will they fit together? Well, here's the finished product...What do you think?
So...now I can start work on tidying it up and then, on to the insides...
Sunday, 19 April 2015
A New Copper Box
I'm returning to box making and have decided to make one from copper domes.
 The domes are made from flat discs of copper, annealed and then hammered into a former to create the dome. filing the edges gives each dome a flat edge to allow both halves of the box to come together.
 The following picture shows both halves put together to show the outline of the box. It's about 7cm across so it's just the right size to fit in the palm of the hand.
 With the domes formed, I've been working on the inside. The first stage is to mae a plate to fit in the bottom half of the box. this is where the box contents will be stored.


Sunday, 12 April 2015
Easter Silver 2
This post shows the completed piece I started over Easter. In the last post, I described the problems with the enameling which had left a few bare patches on the inside of the silver bowl. To fix this I used a fine brush to place some more enamel on the patches and then re-fired the silver bowl.
I then added a copper top plate to complete the piece which now looks like this;


And finally, a picture with its 'Big Brother' to give a bit of an idea of scale...

I then added a copper top plate to complete the piece which now looks like this;
Subscribe to:
Posts (Atom)